Summary
Full Transcript
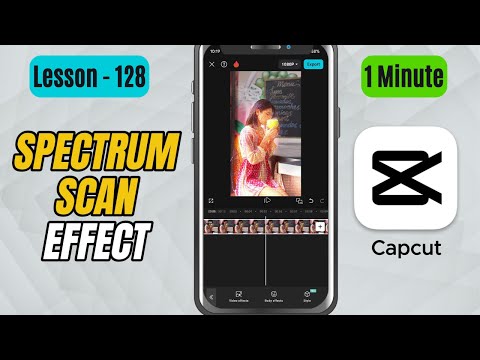
In this tutorial, you’ll learn how to use the Spectrum Scan Effect in CapCut Mobile — a futuristic light sweep that gives your video a scanning beam look, similar to sci-fi or holographic visuals. This effect is perfect for tech edits, futuristic intros, or adding a cool light movement to your scene. You’ll also learn how to adjust its key sliders like Atmosphere, Intensity, Glow, Speed, and Range for the perfect visual balance. Steps to Apply the Effect: Open CapCut Mobile and import your video into the timeline. Tap on your video clip to select it. Tap on Effects from the bottom toolbar. Select Video Effects. Navigate to the Light tab. Find and select Spectrum Scan from the list. Once applied, you’ll see a glowing scan line moving across your video. Tap on the Spectrum Scan effect again to adjust its settings. Fine-tune the sliders: Atmosphere – Adjusts how soft or ambient the overall light looks. Increase it for a dreamy glow or reduce it for a sharp beam. Intensity – Controls how bright and strong the scanning beam appears. Glow – Adds extra shine and diffusion around the light, perfect for emphasizing the beam. Speed – Changes how fast the scan moves across the video. Range – Defines how far or wide the scan light travels across the frame. #capcut #capcuttutorial #capcutmobile

Continue this lesson in the app
Install CourseHive on Android or iOS to keep learning while you move.