Summary
Keywords
Full Transcript
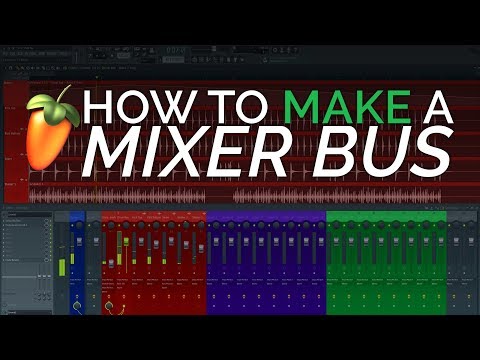
In this video I show a quick and simple way to create and use Bus or Group channels in the mixer on FL Studio 12. I quickly start by showing how the technique is carried out by routing audio from individual channels such as a Kick, Snare and Hi Hat to a group channel called "Drum Bus" I'm also trying to make a case for why and how you can use them. To experienced mixers, this is very obvious but to beginners it's not always easy to see why they will help you. They make it easier to handle MACRO decisions and balances in a mix by helping you focus on the bigger picture. It's also very useful when you want to try parallel compression or add reverb to a whole group. EDIT:You can select all the channels you want to route by holding "Shift +Ctrl" while clicking on them and then route them all at the same time, but I didn't want to over complicate the tutorial :) Some audio legends also call bus channels "Buss" channels. I think you have to reach a certain level or stardom before you are allowed to add the extra "s"...I'm not too sure. Have a great weekend, Michael

Continue this lesson in the app
Install CourseHive on Android or iOS to keep learning while you move.