Summary
Keywords
Full Transcript
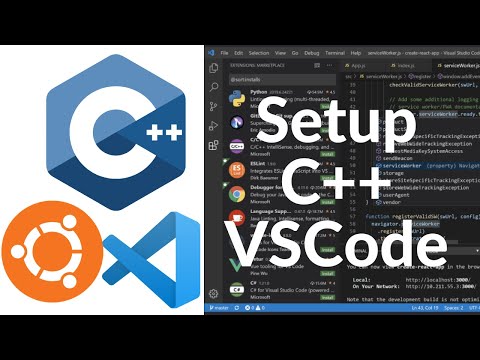
Learn how to set up C++ development with Visual Studio Code on Ubuntu 22.04. #C++ #VSCode #Ubuntu Visual Studio Code (VSCode) is a popular code editor that supports C++ development and offers a range of powerful features. Follow these steps to set up C++ development with Visual Studio Code on your Ubuntu 22.04 system: 1. Install build essentials: Before getting started, ensure that you have the build essentials package installed on your Ubuntu system. Open a terminal and run the following command to install it: ``` sudo apt-get install build-essential ``` This package includes the necessary tools and libraries for building software. 2. Install Visual Studio Code: Visit the official Visual Studio Code website (code.visualstudio.com) and download the Linux version suitable for your Ubuntu 22.04 system. Once downloaded, open the terminal and navigate to the directory where the downloaded file is located. Run the following command to install VSCode: ``` sudo dpkg -i file_name .deb ``` Replace ` file_name ` with the name of the downloaded file. 3. Install the C++ extension: Launch Visual Studio Code. In the sidebar, click on the Extensions icon (represented by four squares). Search for the "C++" extension and click on "Install" to add it to your VSCode setup. 4. Set up a C++ project: Open a new terminal within Visual Studio Code by clicking on "View" in the top menu, selecting "Terminal," and then "New Terminal." In the terminal, navigate to the directory where you want to create your C++ project. 5. Create a C++ source file: Use the following command to create a new C++ source file: ``` touch main.cpp ``` This will create a new file named "main.cpp" in your current directory. 6. Start coding: Open the "main.cpp" file in the Visual Studio Code editor and start writing your C++ code. You can use the integrated features of VSCode, such as IntelliSense, to assist you in coding. 7. Build and run your code: To compile and run your C++ code, use the terminal within Visual Studio Code. Use the following commands: ``` g++ main.cpp -o main ./main ``` The first command will compile your C++ code, and the second command will execute the compiled program. Congratulations! You have now set up C++ development with Visual Studio Code on your Ubuntu 22.04 system. You can continue coding and exploring the various features and capabilities offered by Visual Studio Code to enhance your C++ development experience. #C++Development #VSCodeSetup #UbuntuDevelopment #CodeEditor #Programming

Continue this lesson in the app
Install CourseHive on Android or iOS to keep learning while you move.


