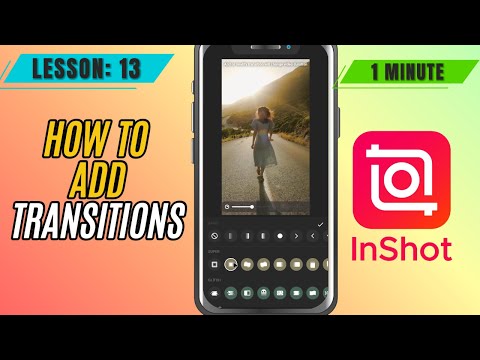
InShot Mobile Video Editing Course - Zero to Hero Beginners Course - How to Add Transitions Between Clips in InShot - Lesson 13 Inshot Mobile Video Editing Tutorial
4.0(3)
42 learners
What you'll learn
This course includes
1.5 hours of video
Certificate of completion
Access on mobile and TV
Summary
Full Transcript
Want smooth and stylish transitions between your clips? In this tutorial, I’ll show you how to add transitions in InShot. From simple fades to dramatic zooms and glitches, transitions can make your edits look professional and polished!
Open the InShot app and start a new video project.
Import two or more clips into your timeline.
Look for the small white square icon between two clips—this is the transition button.
Tap the icon to open the Transition menu.
Browse through categories like Basic, Glitch, Slice, and more.
Tap a transition to preview it in action.
Use the slider to adjust the transition duration.
Tap the checkmark to apply.
#inshot #inshottutorial
Continue this lesson in the app
Install CourseHive on Android or iOS to keep learning while you move.