
Summary
Keywords
Full Transcript
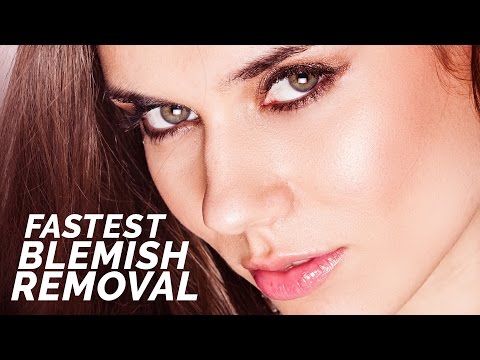
Learn how to fix blemishes and remove acne in Photoshop. In this video, we are going to learn the fastest way to remove pimples in Photoshop. Removing blemishes in Photoshop with the good old clone stamp tool or even the spot healing tool takes a lot of time. How about removing the blemishes all at once with even more accuracy? We are going to do just that in this episode. ► Link to Part 1: https://youtu.be/Bfc2nZZi3bo Any kind of removal, be it removing blemishes or even distractions in your landscapes, Photoshop always requires a clean sample to do that. Either it does it automatically or we manually have to locate a similar and matching sample for Photoshop to cover the area. Either way, it's a tedious job and Photoshop does mess up from time to time if we let it select the sample automatically as in the Spot healing brush tool and Content-aware fill. What is the option? Well, manually specifying the sample or the target points are always the best things to do. But, this will consume a hell lot of time. But in this video, we will achieve the best of both worlds. We remove blemishes in photoshop all at once very fast but we will also manually select the samples. How is the possible? Watch the video to find out. At this point, it is essential to note that, whenever you are retouching a portrait or face in Photoshop, removing blemishes should be one of the first things to do. Because, after this, you might add a lot of filters, effects and adjustments which will carry on the acne or blemishes, and removing it in the end will be very difficult because it will already be layered with effects and filters. it is also essential that we remove pimples in Photoshop before applying the Frequency Separation Retouching technique. Way, you won't have the hassle to disturb the both the color and the texture layers after the separation is done. Hope this video helped you. If you have any questions, suggestions or feedback. Please feel free to let me know in the comments below. Thank you for watching! ► Subscribe: https://goo.gl/iaROYY If you think you can help, entertain or even disturb someone by sharing this channel's video. Go ahead! : https://goo.gl/IUhnUl ►LET'S CONNECT: Facebook: http://facebook.com/piximperfect Twitter: https://twitter.com/piximperfect Instagram: https://www.instagram.com/piximperfect Google+: https://plus.google.com/+UnmeshDinda Let's not just learn and use Photoshop and Lightroom. Let's play with it! Join me in the game and together we'll reveal some "not-so-talked-about" tips, tricks and tutorials that will AMPLIFY your creativity. Subscribe to connect: https://goo.gl/iaROYY ►Send Your Swag: Unmesh Dinda C/O Santanu Nandan Dinda Quarter No. 303, Tapovan International School Campus, Dholasan Road Ahmedabad-Mehsana Express Highway Mehsana - 384435 Gujarat

Continue this lesson in the app
Install CourseHive on Android or iOS to keep learning while you move.

